
Setting Up Your Home Recording Environment
Even before the pandemic we were recording more and more in home studios.
Voice-over has changed dramatically in the past 15 years. What was once mostly in-studio work, done at a few production studios is now a combination of professional studios and home studios. With the advent of on-line auditioning sites, home studios are providing broadcast quality talent for producers all over the world. For voice artists with agents, home studios have become the primary place to record auditions and send them on to the clients.
Right now, the voice-over world is a wild, wild west with many options out there. In this online library we will list many options and keep them as up-to-date as possible. But know, you don’t have to spend $5000. It won’t be free, but this does not have to be expensive. Your goal: broadcast-quality sound files.
Checklist for Home Studio
You need a quiet place that will not bounce sound around.
1. No windows or cover them with blankets
2. If you use a music stand, cover it with a piece of carpet scrap
3. Clothing around you (the closet) will reduce sound
4. You will need a lighting source to read your material
5. You need room to move your arms– and a place to either sit/stand or both.
6. You want to dampen the sound in front (and optimally) behind you. Acoustic tiles are great for this.
7. You want your mic optimally placed for your voice and in a place that will not block your view of the copy. And make sure you are not looking down collapsing the front of the neck which will change your sound.
8. You may need shock mount to reduce vibrations.
9. Check for blowing noises (or any other noise) around you. Refrigerators, air conditioning, heaters. You may need to set up away from them or turn them off.
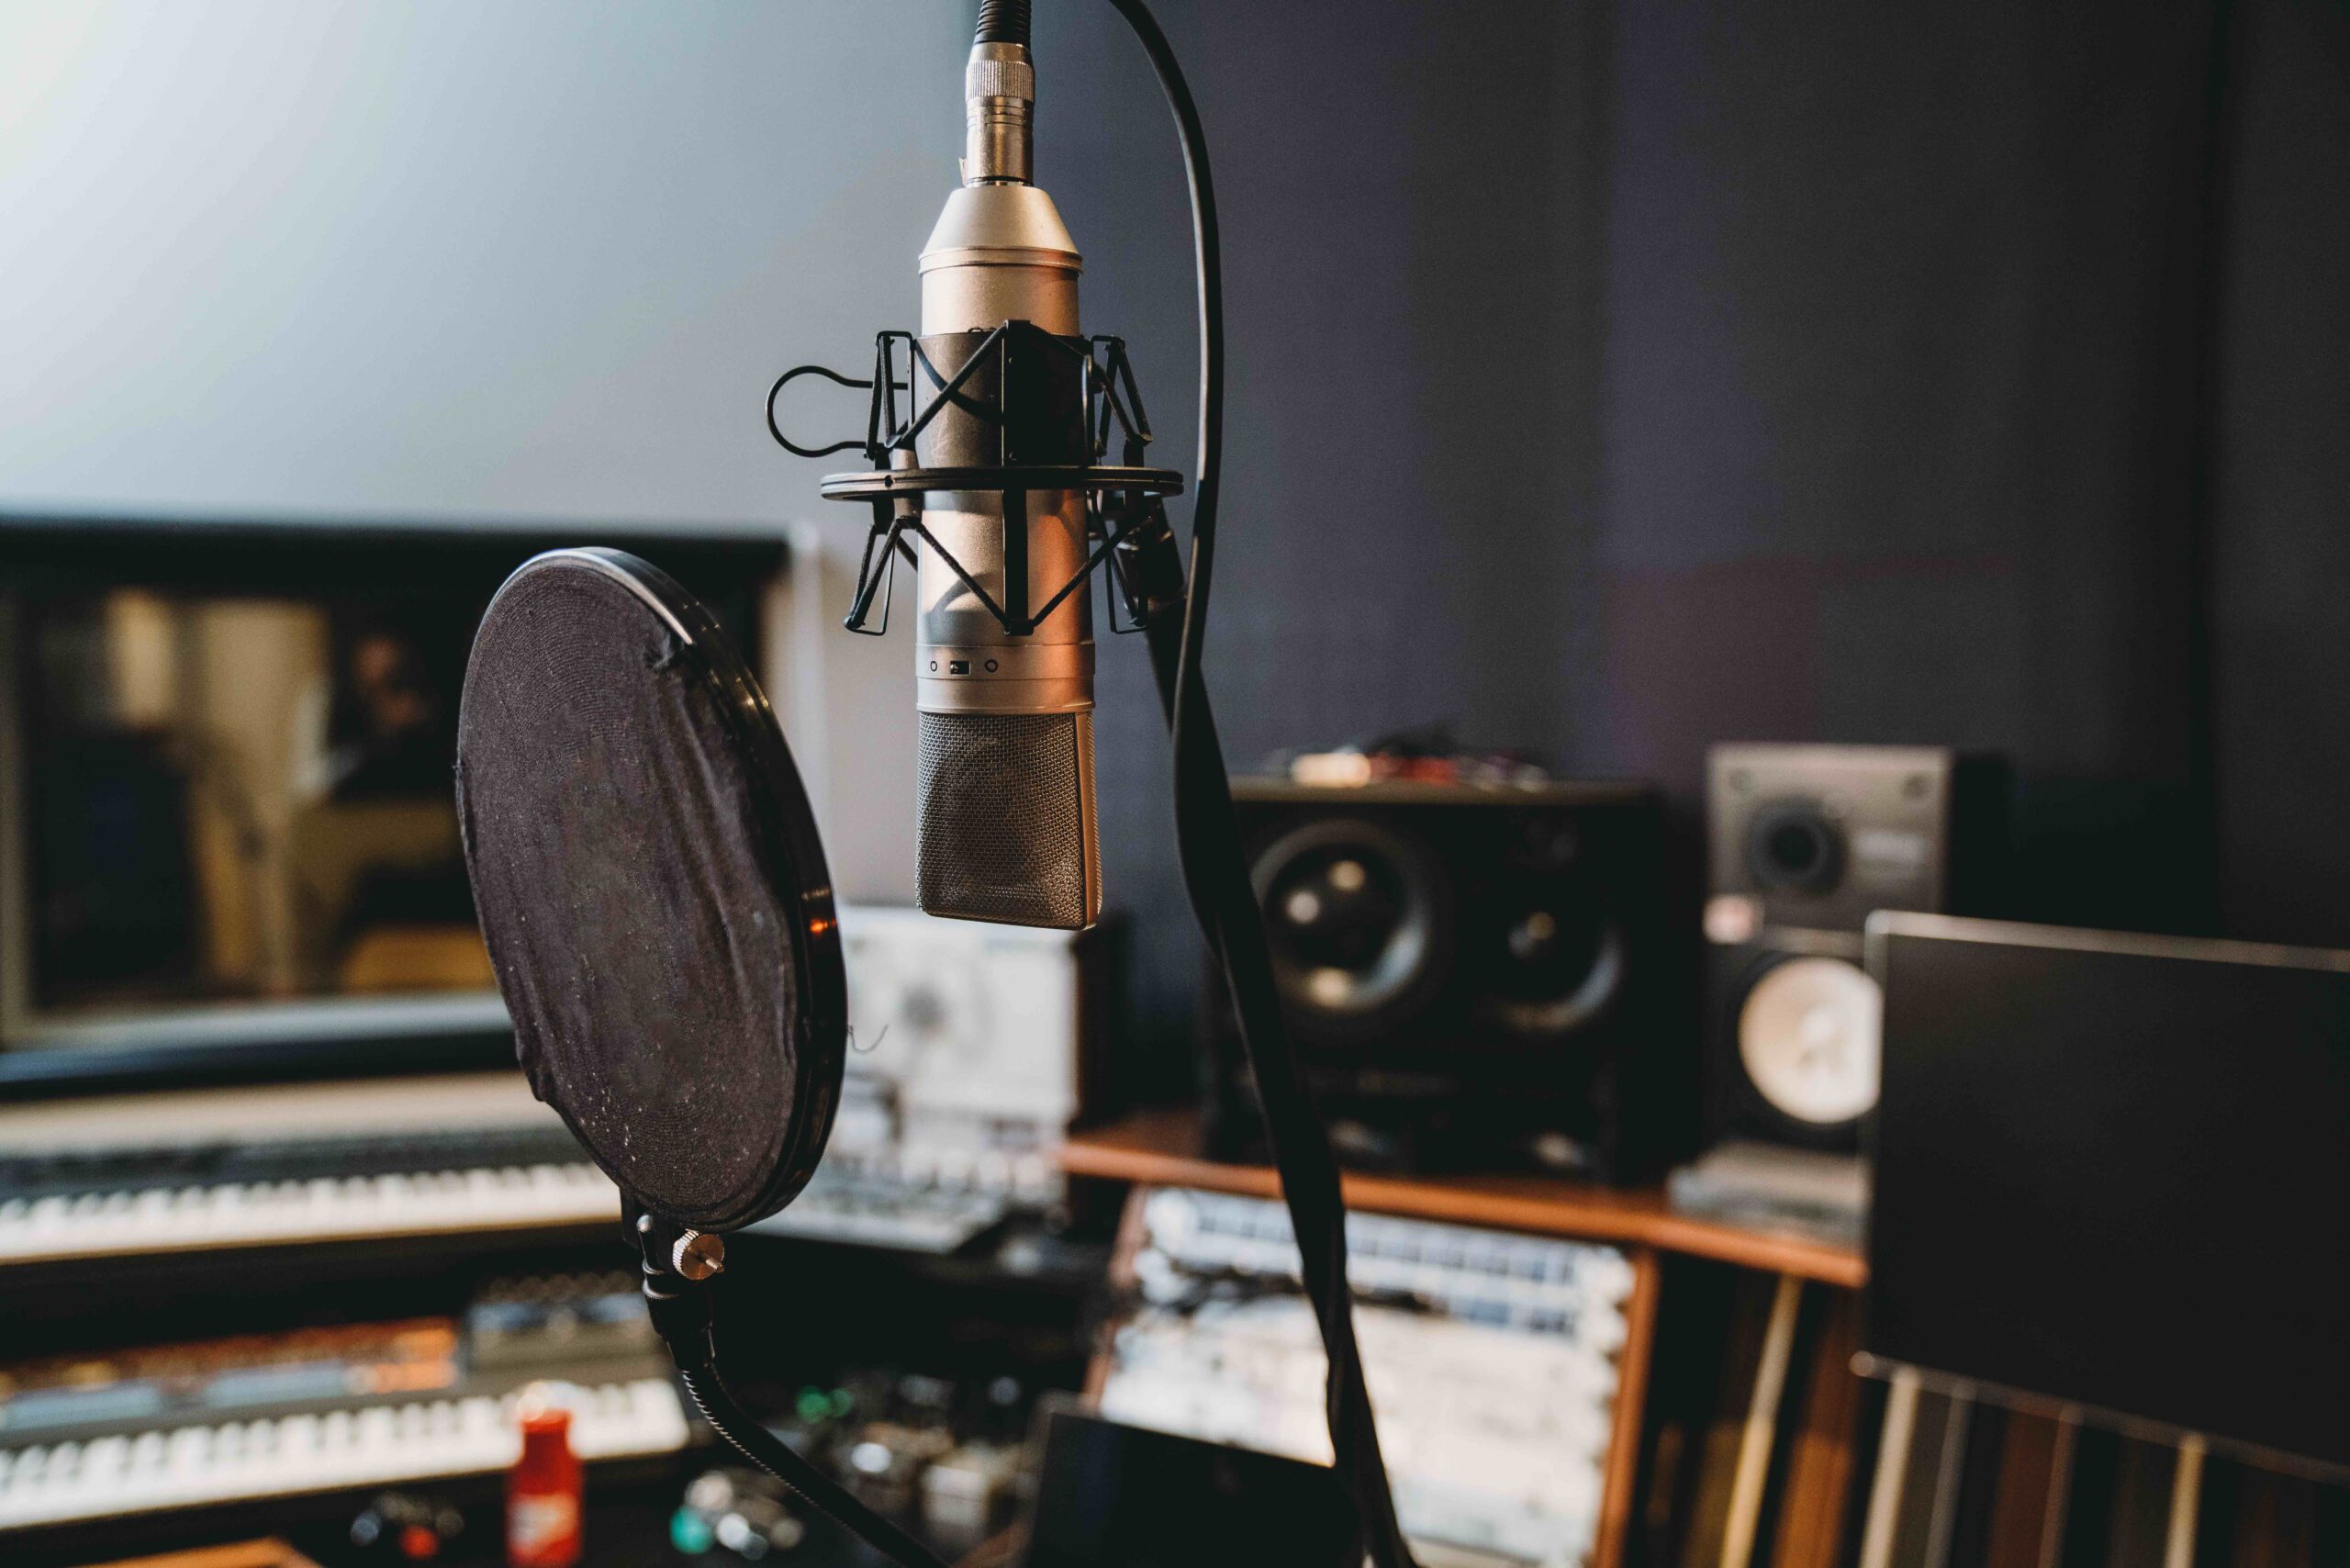
Consider how much time you are really going to work in your studio. For example, if you really want to do audiobooks, you need a comfortable studio where you can stand/sit for long periods. The studio photographed above is extremely comfortable for long sessions. The mic is on a boom arm that allows for sitting or standing and the music stand can be moved up and down for perfect placement.
If you are only doing auditions– use the closet! Seriously. It’s less than an hour a day. Or get a large refrigerator box, cut out one side, and put in acoustic tiles.
Acoustic Tiles vs. Acoustic Panels
We recommend panels. And you can make them yourself — lots of DIYs on Youtube.com. If you are not the do-it-yourself type, we can also make them for you. We use Owens Corning insulation and breathable fabric.
But the image above has tons of acoustic tiles that I can buy at Amazon! Yes, they can and do work. This studio was built back in 2014 — and those tiles are GLUED. If you don’t affix them well, they fall all over the place. All the time. And they tend to work better in smaller spaces. That “under the stairs” closet is really tiny. 3′ x 4′. Any bigger, go with panels.
I just want to buy something now!
Okay! We recommend you do more research first. But if time is not on your side then…
Both of these are pretty great. They will have sound isolation and reduce reflection. These are just a few options that are out there. And they are $$$$.
If your room is already quiet, and we mean below -50db, then consider a portable PVC Booth. We make them. So does Vocal Booth To Go. George Whittam has a really nice set up too.
Equipment for the Studio
With the advent of quality USB mics, you can get started with a laptop (or desktop) computer, a quality USB mic, studio headphones and editing software. Yes, you can also have a pre-amp, mixer, etc…. but wait on that until you are ready. These days you as the voice-over artist need to be able to understand a little bit about sound– but you don’t have to learn everything at once. Learn as you go. Some USB mics are sounding better and better. The industry standard is an analogue mic with an interface. Note: Every mic is a little different with different voices.
Short list:
- Quality studio headphones ($100)
- Starter Mic ($150-$250) — much cheaper and probably not great quality
- Interface if your mic is not USB
- Long cables so that your computer is not too close to your mic
- Tablet holder/music stand to read copy
Resources for hardware:
Editing Software
Audacity is free editing software. It’s a great place for beginners to learn how to record, make edits and basic mastering. It’s great for auditions. For long-form narration, we recommend other software that is less clunky. Adobe’s Audition is outstanding for long-form narration and Pro-Tools is great. Just know you are learning to fly a jet engine just to drive around the parking lot.